How long does it take to make a basket?
Often people ask me, “How long does it take for you to make a basket?” Fine craftsmanship is a time consuming process. It can take years of working with a material gaining the knowledge of sustainable cultivation, proper harvesting and preparation to become proficient. Then, a material must match the technique used in construction. Is it flexible enough to make a basket that is coiled? Flat enough to make a plaited or plain weave construction? Strong enough to make a large twined structure?
Once the material is prepared, the basket is designed. For me, baskets happen in my imagination, on paper, and sometimes in many failed starts (I keep a basket full of these partially completed pieces to later reimagine or sometimes use as kindling!) I began making baskets in the mid 1970’s when I was in college at the University of Arizona studying for a degree to teach art. My mother was the recipient of many of my “first” baskets (some that only a mother could love.)
Being surrounded in Arizona by some of the best Native American basketmakers provided additional appreciation and inspiration for me. I have never stopped learning about technique, materials, and culture through opportunities to work with master weavers as well as by visiting museums and books.
If you examine the inside of my baskets, you may discover that each of my finished pieces contains a few beads that hang on the ends of my final woven strands. This symbolic end provides closure as I move on to a new piece. I’ve also come to think of it as my signature.
It is ok to pick up my baskets, cradle them in your hands and examine them closely. My baskets are of strong construction and craftsmanship. I hope you enjoy the feel of them as much as I do. The tactile experience of combining material with time to patiently make “something from nothing” with my hands is what I love about making a basket. It has taken me my lifetime.


Twining with Waxed Linen
When I was running in all directions raising my three young children, I found Irish waxed linen thread as a basketry material. I could pick it up and work with it without a lot of preparation (no harvesting, soaking, etc.) and even bring it in the car to work on while my kids took music lessons or played sports.
Waxed linen is particularly suited to inventing new methods for creating shape. I love to create a vessel from an idea, and marvel at how I can build an object starting with a single thread-like strand and turn it into a solid piece with the feel of hardened clay.
Employing the centuries old twining method where two threads cross each other going over and under the warp or stakes of the piece is my basketry technique of choice. While repetitive twining requires patience, it also feeds my need for quiet, contemplative centering.


Growing Willow
Living in Minnesota gave me an opportunity to try growing my own willow for basket making. I lived on a ridge and decided to try putting in willow starts on a steep slope near the lakeside.
It took a couple of years of clearing downed trees and invasive buckthorn and thistle before the ground was ready to try planting. I dug up the earth and stuck the foot long willow cuttings into the ground. It wasn’t long before I saw little leaves emerge from the stalks! It also wasn’t long until I discovered that the local deer were enjoying dinner at my willow patch! I enlisted help from my husband and he erected what came to be known as “Fort Willow,” a fenced in hillside of willow that flourished.
Each year my harvest size improved as I worked the patch. In fall the leaves would begin to drop from the willow and I would harvest the willow cutting each plant close to the ground. On the steep hillside, I would try to time my harvest for after the leaves dropped but before the first snowfall. These photos show the results of my work in the willow garden.


Splitting Willow
After harvesting, I wrap the willow withies to keep them cool and a bit damp and flexible until they can be split. Each piece of willow is split into three pieces length-wise and then the inner pith is removed from each of the three pieces using a sharp blade. The willow skeins are then coiled and stored until they are dry and are then soaked when ready to be used.
These photos show splitting a piece of willow with a wooden tool called a cleave, shaving the pith off of the inside of the willow skein, and the completed coils ready for drying.
This is a long repetitive process that takes years to perfect and develop true craftsmanship. I consider myself a beginner.


Working with Willow Bark
The tactile nature of basket making captured me from the start, enjoying the many textures of natural materials that can be combined. Add in the scent of the freshly peeled willow while working with bark, and I’m really hooked.
Harvesting willow for a traditional stake and strand basket requires that the stake lengths be cut before they have a chance to get too big around. However, for harvesting usable bark, I look for basketry or wetlands willow that has grown at least 3-5 years and is larger around.
The willow is cut in the early summer when the silky sap runs between the wood and bark allowing for easy peeling of the bark into one long piece. After stripping the bark, the pieces are rolled bark side in and tied to store and dry waiting for the day of basket making. If I’m lucky, I’ve saved knots and holes in my willow pieces that will give character to the basket that they become.


Working with Gourds
My gourds are from an amazing gourd farm in southern California or from Arizona where my brother grows some for me. I love the organic shapes and variegated colors that contribute to making every gourd art piece one of a kind.
The gourds have to dry for several months before I select the best shapes and soak them to clean and remove any stains. Next, using an electric saw, I cut desired shapes and clean out the gourd seeds inside. (The dried dust on the inside isn’t good for your lungs and may contain mold so I make sure to wear a mask and do this part outdoors.) Drilling holes and dying the gourds comes next, sometimes even dying the inside. And, finally, I attach waxed linen warp to create the unique weaving at the rim or on the surface of the gourd.
My gourd designs are often inspired by nature and can be embellished with wood, stone, seedpods, glass or shell beads from my collections. Each gourd is unique; I never do the same thing twice.

Dyeing with Cochineal
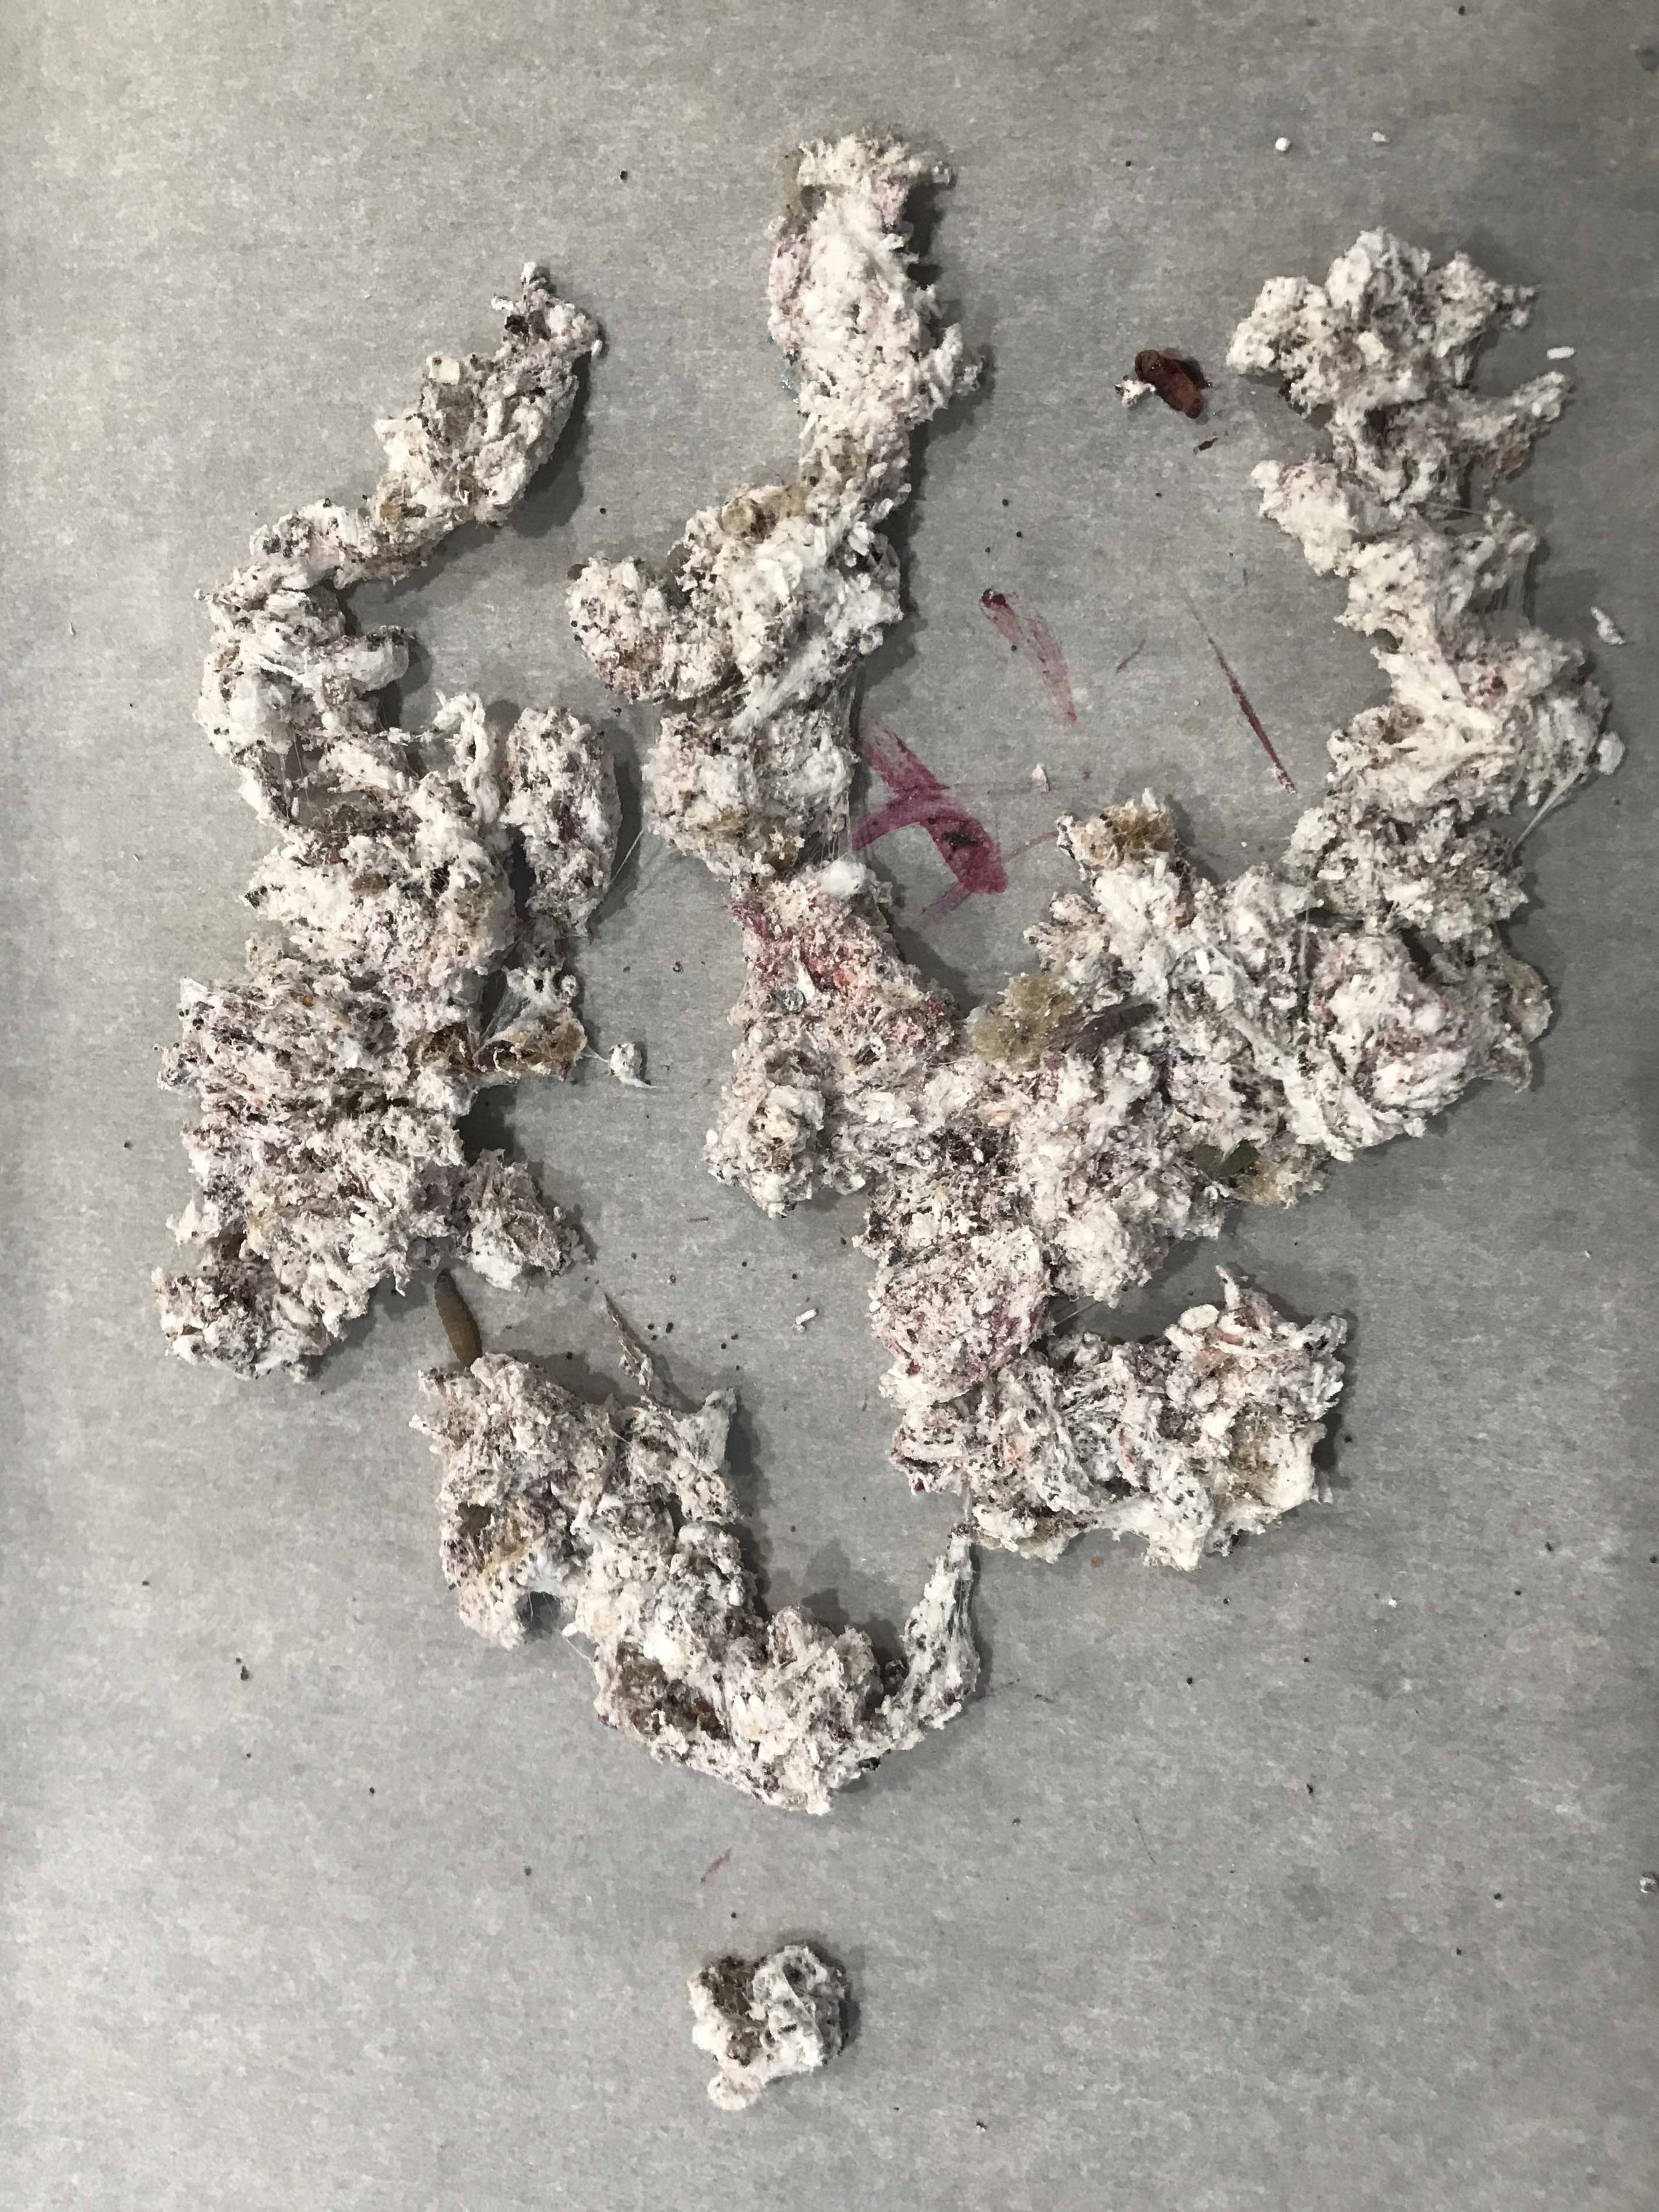
While studying in college, I learned about the amazing red color possible using a dye made with cochineal insects. When I discovered the insects on prickly pear cactus during walks in the Tucson area, I knew I had to give it a try.
On my outings, I carried around a small container and knife to use to harvest the insects, which create a cotton-like attachment to the cactus pads. After letting the insects dry out, I ground and soaked them to extract the dye. The liquid was strained and I had my dye! I proceeded to experiment with different mordants, used to fix the dye, to create the varied shades of bright cherry or plum red with just a small amount of that treasure.
I used the dye to color both linen thread and cedar bark, and added those to my stash of inspiring materials.